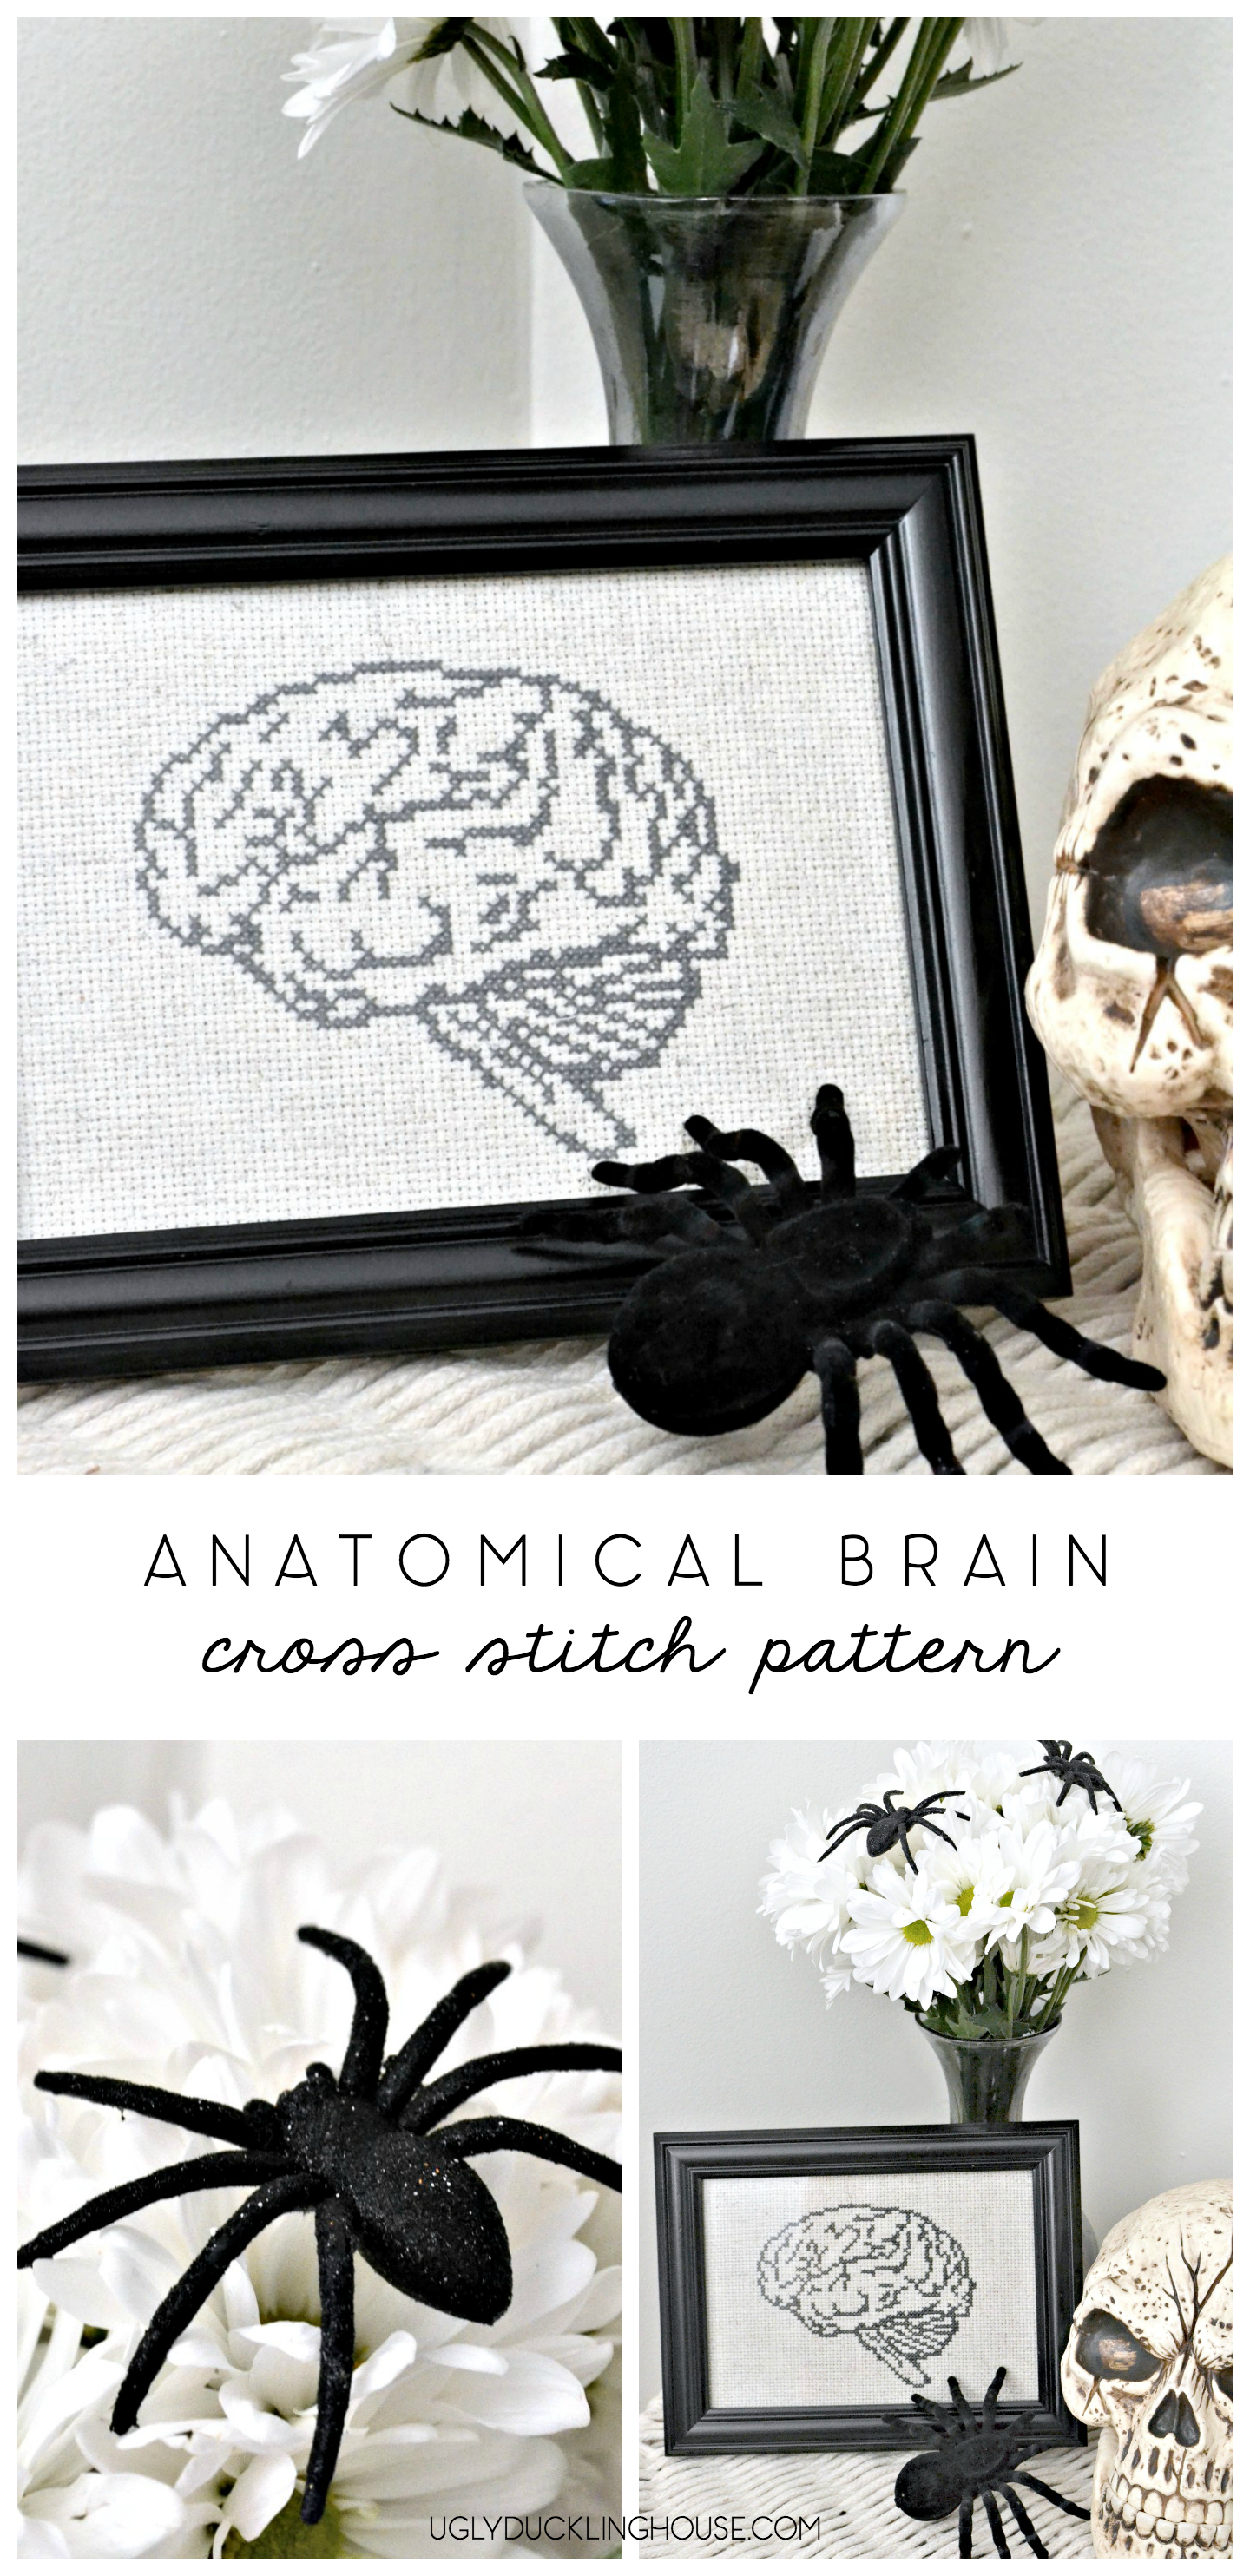
Tips on how I quickly frame cross stitch into a traditional picture frame, plus my anatomical brain cross stitch pattern, perfect for spooky Halloween decor.
As promised! It may have taken me ALL week to finally get the time to put this up for ya (my post about my costumes from last year is also forthcoming), but since it’s almost Halloween and the last cross stitch post was such a hit with some of you guys, I thought I’d give out a spooky-themed one, too:

In truth: I completed the pattern ages ago (just because I thought an anatomical ANYthing cross stitch would be cool to add to a gallery wall… whenever I put that up) and just kind of forgot about it. After rummaging through my cross stitch supplies though, I found it again and realized that if you use your imagination a little (say, for a spooky apothecary or mad scientist theme), it would feel right at home in your Halloween decor.

It also wasn’t until I realized I wanted to share it here that I finally put it into a frame too, so I have instructions for you on that:
How I (Quickly and Lazily) Frame Cross Stitch Patterns
Another confession: I did this entire framing job (hehe, that makes me think of a heist) while sitting around someone else’s house last weekend (aka, while Charlie was watching cows and K was convincing me to take on his camper renovation project). It’s that easy!
First, I did a quick ironing on the back to help flatten out any of the areas that showed a “bump” from the cross stitch hoop.

Then, I did a loose measurement around the cardboard I was going to use for the backing (note: it’s best to do this with the acid-free stuff that comes with better quality photo frames — that leads to less fading and exposure over time).

Next, I clipped off the corners (in hindsight though, it would be better to cut it along the dotted lines as more of a triangular cut instead of the square I did… I later wound up clipping off more, as you’ll see in the next photos).

Then, I grabbed some spare cross stitch thread and just started stitching along the back to connect the extra fabric around the back of the cardboard. This helps to pull the fabric taught and fits it snugly inside the frame.


Pop it in the frame, and done!


Anatomical Brain Cross Stitch Pattern Download
And of course, the pattern! Last time, I assumed I might only share a cross stitch pattern once, but given that so many of you liked the last one, I’ve decided to add a new page to the blog: the Cross Stitch Patterns Library.
I’ve been meaning to do something like this for the woodworking projects I’ve done, and this served as a great way to figure out how to create a library right from the start. This means that those of you who have already subscribed don’t have to go through a multi-step confirmation again; just add your email address as your access (last time I wasn’t sure how to best combine that with existing subscribers, so I hope this works much better). This will also give you access to download the existing fall tree cross stitch pattern if you didn’t do that last time, and any future patterns I post about will be there too (once they go live).

That’s it for now: I’ve gotta run and find a few accessories for this year’s Halloween costume for a party tomorrow night (if all goes well with my makeup, it will be an AWESOME costume to share, especially since it’s so last-minute!). Happy stitching!

The post Anatomical Brain Cross Stitch Pattern appeared first on The Ugly Duckling House.
Website // Subscribe // Advertise // Twitter // Facebook // Google+
from The Ugly Duckling House https://www.uglyducklinghouse.com/anatomical-brain-cross-stitch-pattern/

No comments:
Post a Comment