I’ve learned the hard way what not to do when it comes to container gardening. Today, I’m sharing a few simple tips on picking the right shade-loving plants for thriving covered porch planters.
Happy Saturday! While I’m praying that the weather cooperates so I can get more done on the shed this weekend, I thought I’d give you a fun little update for what’s going on with the front porch.
A few weeks ago, I shared with you that, although I’ve done a lot of repair and basic updating to the front porch area, I haven’t really taken things to the next level in terms of style. Don’t get me wrong; it’s a far cry from where things began:

But with more of the house in later renovation stages and my increasing desire to entertain after years of repair, it’s time to really put some oomph into the entry! Most recently, I began this process with two new planters and some seasonal color. As I finished up, it occurred to me that I should pass on a few of these tips to you guys!
1. Know thyself… and thy porch
It’s taken me years to get the hang of gardening in and around the house. In that time, I’ve learned the kind of light/water/general care the area is going to get. As it turns out, finding answers to those questions are pretty important for making sure plants stay healthy:
- what kind of sunlight does the area get naturally?
- will the spot be exposed directly to the weather or require more deliberate upkeep?
- will it need to be moved around regularly?

Considering that a covered porch is shaded most of the day, any light it gets is generally indirect. As far as watering, the rain won’t reach this area, so I would have to do most of the watering myself (which also means a plant would need to be tolerant of my limited upkeep).
I’ve found that as well-intentioned as I might be, it’s best to ignore my impulse to buy a plant just because it’s beautiful. No amount of beauty in a plant has ever caused me to put in more effort in the garden, so I’ve learned to seek out plants that suit my needs and my house’s most natural conditions rather than tell myself that I’ll change my ways. Phrases like “shade” and “drought/heat tolerant” are factors for success. Don’t buy the plant that needs watering every day if you barely have time to shower. Resist the urge to buy a plant and get overly ambitious with your normal habits for care; it’s a recipe for a brown, dead plant!
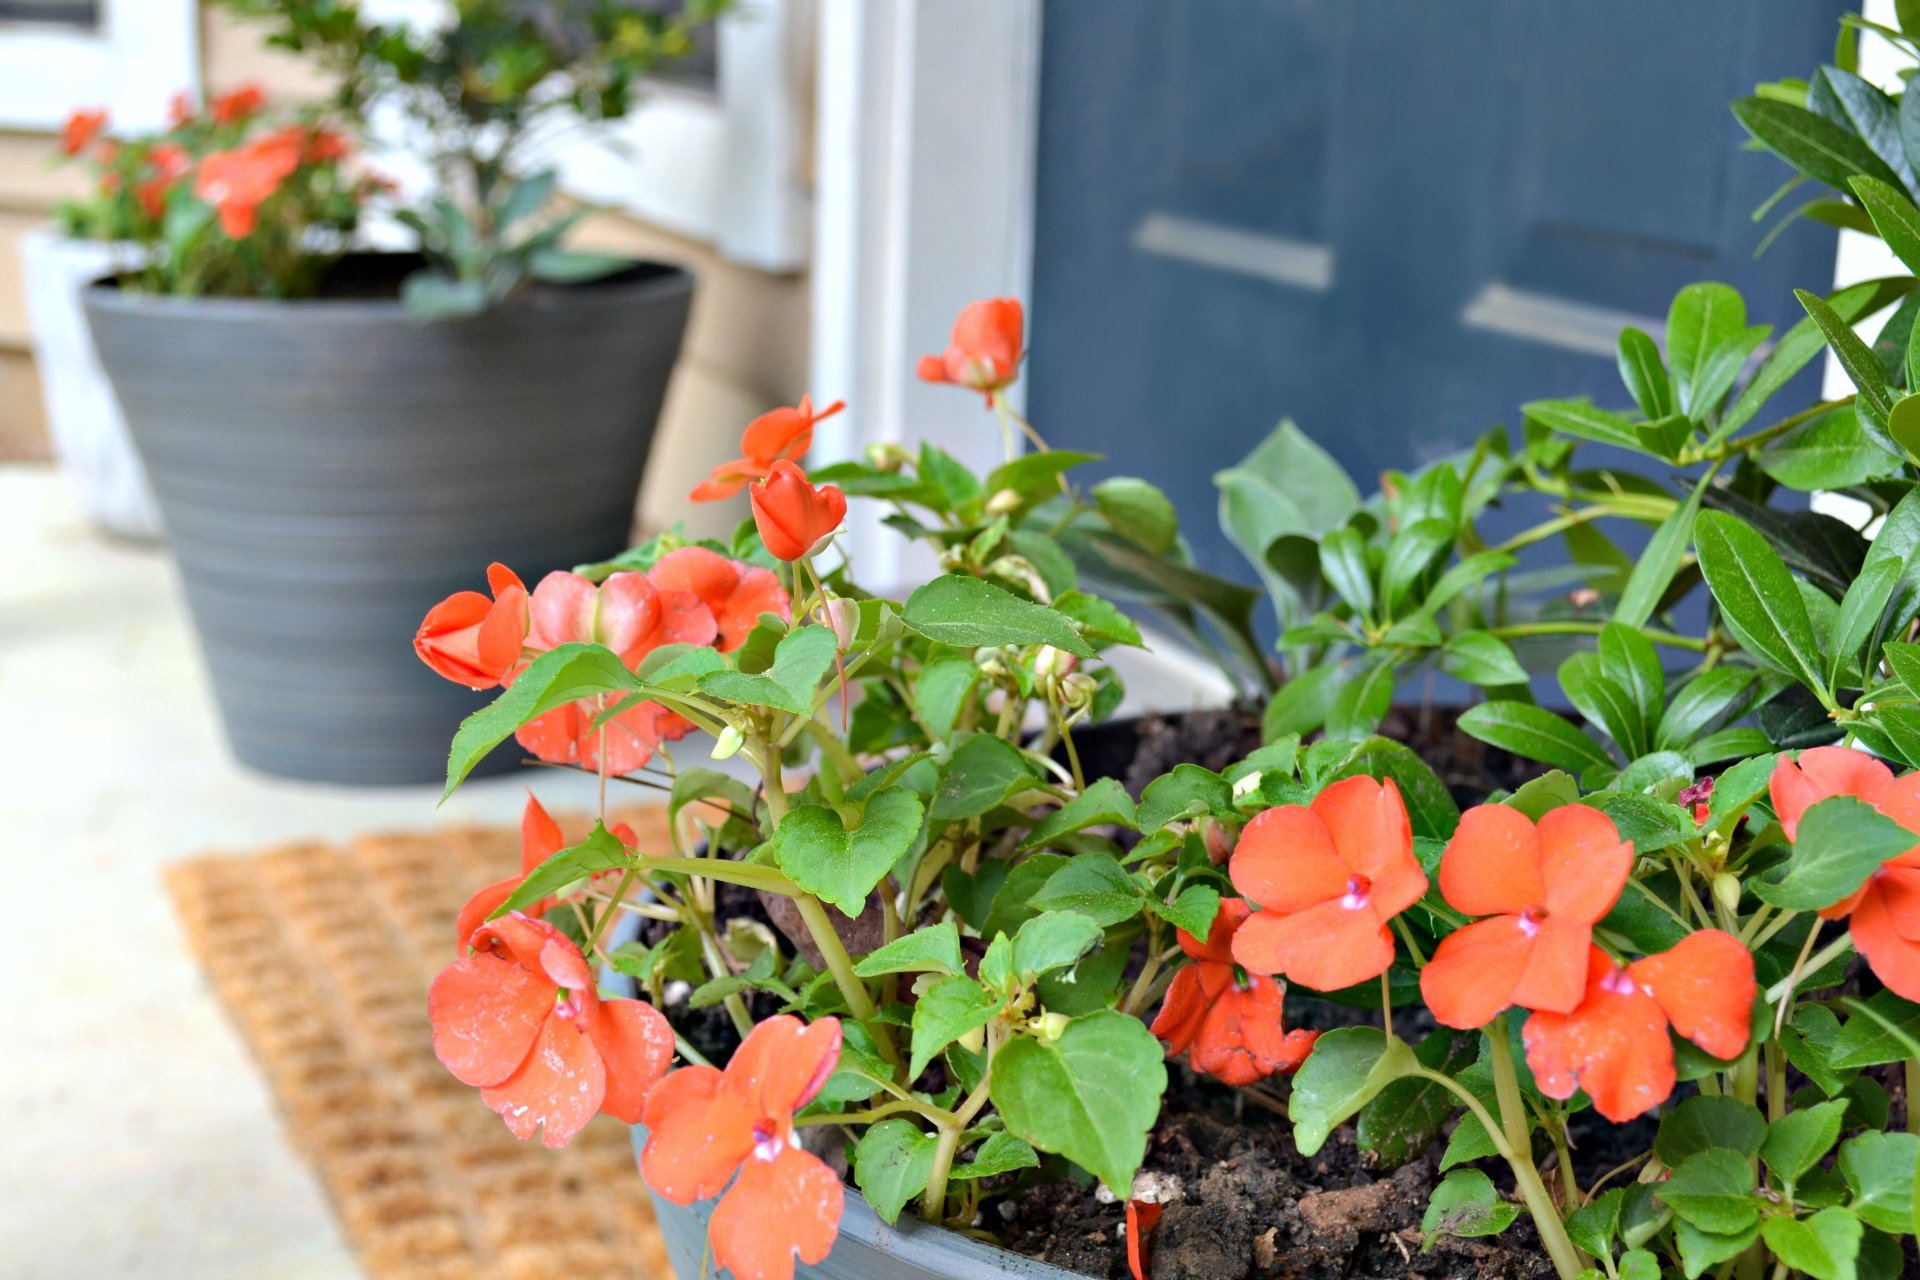
2. Height, texture, color.
There is another rule like this you may have heard: thriller, filler, spiller. Basically, you want to pick plants that have some variety for visual interest. And a good rule of thumb is to pick a grouping with three separate purposes: height, filling the container, and spilling over the lip of the container. I decided not to go with a “spiller” for this season, but I still kept the variety a priority. One larger shrub toward the back of the container is used to add height (and will grow taller over time). Another was added for texture (the hosta), and a third was chosen for bright color. The colorful impatiens will eventually need to be replaced (they’re annuals), and at that point I might replace them with a more cascading plant.

3. How to use less soil and lighten up potted plants
You may have noticed the empty plastic water bottles in the above photo; that’s actually the planter’s little secret! A few years ago, I discovered this trick for using less soil per planter. It also keeps the potted plant lighter, so I can move them around when the situation calls for it. Just throw several empty bottles into the bottom of the container, and cover the top area with newspaper. Then, plant as usual.


4. Tilt plants toward the lip to look fuller
When I first began planting containers, I thought everything had to be planted straight up and down. It wasn’t until I spoke with a gardener a few years ago that I realized that you can manipulate it a little. Tilt the plant slightly when planting so that they root at an angle, toward the edge of the planter. This is especially effective with “spiller” type plants that fall over and down the container, but I did it here with the impatiens to make the color pop a little more and make the planter look fuller.

5. Water regularly until established
Moving day is pretty much stressful for all living creatures, it seems; keep in mind that new plants tend to need more water upkeep until they have been around for a little while.

6. Easy does it
I’ve found that if I can keep my impatience in check, the better it is for my gardens. Adding slowly and thoughtfully, rather than planting too ambitiously too fast, leads to a garden style I’m much happier with.
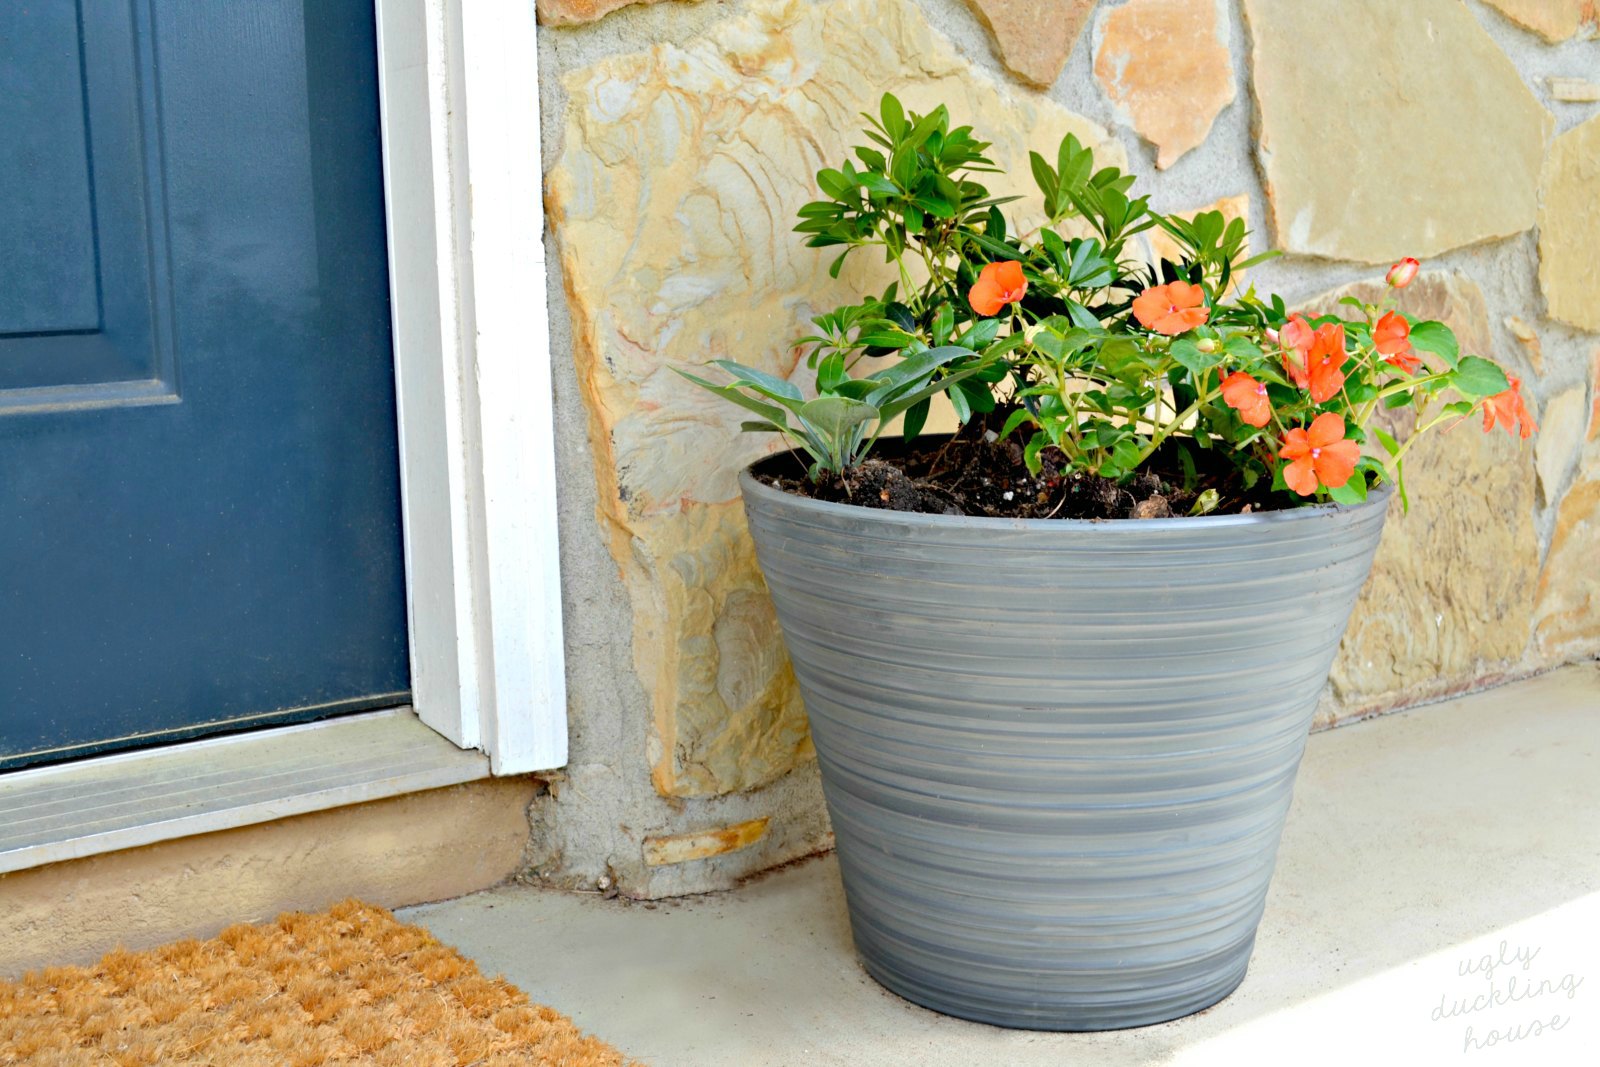
I always get so impatient during the first year with new plants, thinking that I went too small or that I need to add more. Instead, a simple care plan for this first year is better than adding too much; it risks killing everything from having too much upkeep. The main shrub in each of these containers will grow between 3-4 feet, so while the plants needed a little something extra this year, they probably won’t need to be filled in much in the future.

Regardless, it’s nice to come home to some bright new color!


Want more outdoor DIY ideas? You’re in luck! My pal Cassity from Remodelaholic is hosting an Outdoor DIY Challenge today, and there are 12 more projects to check out!

Get Out! Outdoor DIY Projects
DIY Outdoor Bench | Hertoolbelt
How to Build a Gazebo (from a Kit) | The Palette Muse
Sunroom Makeover | Lantern Lane Designs
DIY Solar Walkway Lights | Toolbox Divas
Wooden Welcome Sign Wreath | Lemon Thistle
DIY Washer Toss Game | Everyday Party Magazine
Backyard Hammock Area | North Country Nest
Easy Cinder Block Garden Planters | Our Crafty Mom
Funny DIY No Soliciting Sign | Leap of Faith Crafting
Simple DIY Tricks for a Covered Porch | Ugly Duckling House (you’re HERE!)
Bistro Set Makeover | Practical & Pretty
Tiered Vertical Planter Garden | Creative Ramblings

The post Simple DIY Tricks for Covered Porch Plants appeared first on Ugly Duckling House.
from Ugly Duckling House https://www.uglyducklinghouse.com/simple-diy-tricks-for-covered-porch-planters/
No comments:
Post a Comment